
Programming a garage door keypad is usually a quick process, but doing it in the wrong order is one of the biggest reasons homeowners get stuck. Keep in mind that exact button sequences vary by brand, so your opener’s manual is always the best source for model-specific details.
This guide focuses on the general framework that applies to most modern keypads, along with the mistakes that tend to cause the most frustration. Once you’ve confirmed the keypad itself is functioning, the steps below will walk you through setting it up correctly from start to finish.
Locate Your Opener’s Program Button
Every garage door opener has a small program or “learn” button on the motor unit, usually near where the antenna wire hangs down. This button is what puts the opener into a mode where it’s ready to accept a new code from your keypad. On some models, this button is tucked behind a small panel, so a flashlight can come in handy if your garage doesn’t have great lighting near the ceiling, and knowing where this button is located can save you an unnecessary garage door repair call down the line.
Where to Find the Program Button on Most Openers
- Located on the side or back of the motor unit housing
- Often colored differently from other buttons, such as purple, orange, or yellow
- Positioned near the antenna wire on most modern openers
- Sometimes hidden behind a small plastic cover that needs to be removed
- Labeled “learn,” “program,” or “smart” depending on the brand
Taking a moment to find this button before you start saves a lot of back and forth later, especially if the opener is mounted high on the ceiling. A step stool or ladder is often necessary just to see the button clearly, so it helps to have one ready before you begin.
If you’re dealing with a keypad that won’t respond at all, rather than one you’re setting up fresh, it’s worth reviewing Garage Door Keypad Not Working: Common Causes first, since a dead battery or lost code can look like a programming problem when it isn’t.
Enter Program Mode Correctly
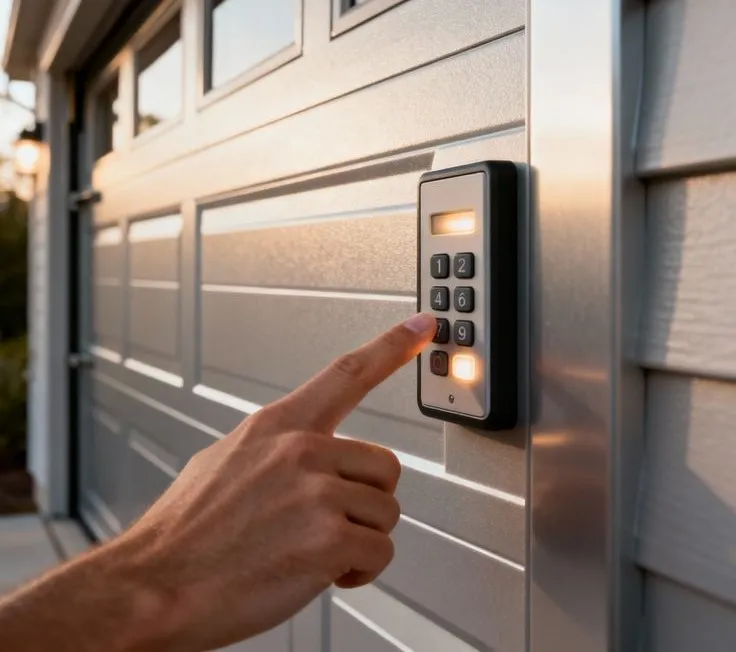
Once you’ve found the button, pressing it puts the opener into program mode for a short window, usually around 30 seconds. This is the point where timing matters most, since missing that window means starting the whole process over again. Rushing this step is one of the most common reasons homeowners end up repeating the process multiple times, and it’s also a common reason people call for garage door service when the issue is really just a timing mistake.
What Happens When You Enter Program Mode
- A small indicator light near the button will turn on or start blinking
- The opener is now ready to accept a signal from your keypad
- You typically have a limited amount of time to enter a code before the window closes
- Some openers make a soft click or beep to confirm the mode is active
- If the light doesn’t turn on, the button may need to be held longer or pressed again
Working with a partner during this step can help, since one person can watch the opener’s light while the other enters the code on the keypad. If you’re doing this alone, it also works fine; it just may take an extra attempt or two to get the timing right.
Choose and Set a Secure Personal Code
After entering program mode, you’ll enter a personal code on the keypad itself. This is the code that will be used going forward to open the door, so it’s worth choosing something you’ll remember without making it too easy to guess. Think of this step the same way you would set a passcode on a phone, since it protects access to your home, and updating it periodically is a simple habit worth building into your regular garage door maintenance routine.
Tips for Choosing a Strong Keypad Code
- Avoid obvious sequences like 1234 or repeating numbers
- Choose a code with at least four digits if your keypad allows it
- Don’t use your house number or a birthday that’s easy to guess
- Write the code down somewhere safe, rather than only memorizing it
- Avoid sharing the code more widely than necessary for security reasons
Once the code is entered, most keypads confirm it with a light or a sound, letting you know the opener has accepted the new code successfully. If nothing happens after entering the code, it usually means the program window closed before you finished, which simply means starting the process again from the button.
Test the Keypad After Programming
This step gets skipped more often than it should. Testing right away means you’ll know immediately if something needs to be redone, rather than discovering the problem later when you’re locked out. It only takes a minute, but it can save a lot of frustration down the road.
How to Properly Test a Newly Programmed Keypad
- Step away from the opener and enter the code from the keypad itself
- Confirm the door opens and closes smoothly on the first try
- Test the code a second time to make sure it wasn’t a fluke
- Check that other remotes or keypads still work as expected
- Walk through the process once more if the door doesn’t respond right away
Knowing which process you actually need before you start can save you a few unnecessary steps.
If your real goal was to update the code on a keypad that’s already set up rather than program it for the first time, that’s a slightly different process covered in How to Reset Your Garage Door Keypad Code.
Common Programming Mistakes to Avoid
Most programming issues come down to a handful of repeated mistakes rather than a defective keypad. Knowing what to watch for ahead of time makes the whole process much smoother, and it’s usually the difference between a five-minute task and a half hour of trial and error.
Mistakes That Cause Programming to Fail
- Waiting too long between pressing the program button and entering the code
- Standing too far from the opener while trying to sync the signal
- Forgetting to check for old codes still stored in the opener’s memory
- Mixing up steps meant for a remote control with steps meant for a keypad
- Not double-checking the batteries before assuming the programming failed
Family Handyman’s overview of installing garage door openers is a solid resource if you want to understand how the opener and keypad fit together as a full system before troubleshooting further. It’s worth a look if you’re setting up a system for the first time and want a bit more background before you start.
When Programming Doesn’t Work
Sometimes you’ll follow every step correctly, and the keypad still won’t sync. When this happens, it’s usually a sign of something beyond a simple programming mistake, such as a failing keypad, an opener nearing the end of its life, or wiring issues on hardwired models. It’s also possible the keypad and opener simply aren’t compatible with each other, which happens more often than people expect with mismatched brands.
For general reference on how openers are designed to work with accessories like keypads, DASMA’s guide to garage door openers offers useful background on how these systems are built to communicate safely.
Signs It’s Time to Call a Professional Instead
- The opener’s program light never turns on despite multiple attempts
- The keypad accepts a code, but the door still doesn’t respond
- Old codes can’t be cleared, no matter how many times you try
- The opener is older and may not support newer keypad models
- You’ve tried the process several times with no success
Having a sense of what a repair might involve makes it easier to have a productive conversation with a technician before you reach out. That’s exactly what What Affects Your Garage Door Keypad Repair Cost breaks down, covering the general factors that come into play at this point.
Getting It Right the First Time
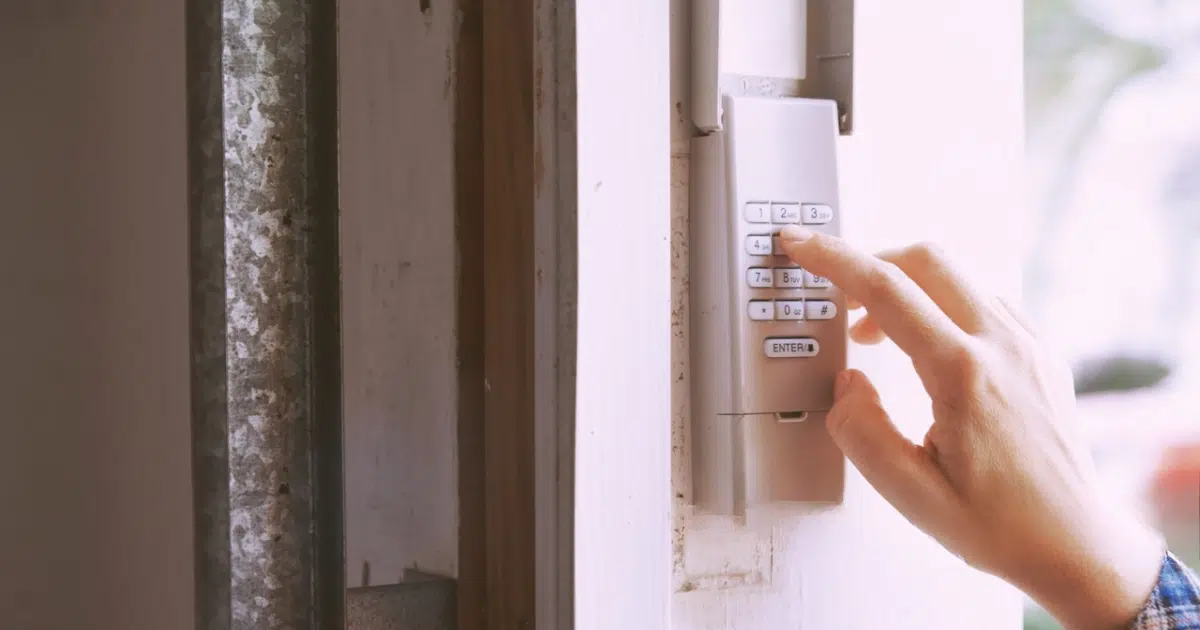
If you’re in Mesa, AZ, and you’ve tried programming your keypad without success, JT’s Overhead Doors can take a look and figure out what’s going on, whether that’s an aging opener, a wiring issue, or a keypad that’s simply reached the end of its life. Contact us today or give us a call, and we’ll get your system working the way it should.