
Resetting a garage door keypad code is one of the most common tasks homeowners need to do, whether it’s for security reasons, a move-in situation, or simply because the current code stopped being reliable.
This guide walks through when a reset makes sense, how to do it properly, and what to watch for if the process doesn’t go smoothly. Knowing the difference between a reset and a full reprogram can also save you time, since they’re related but slightly different tasks.
When You Should Reset Your Garage Door Keypad Code
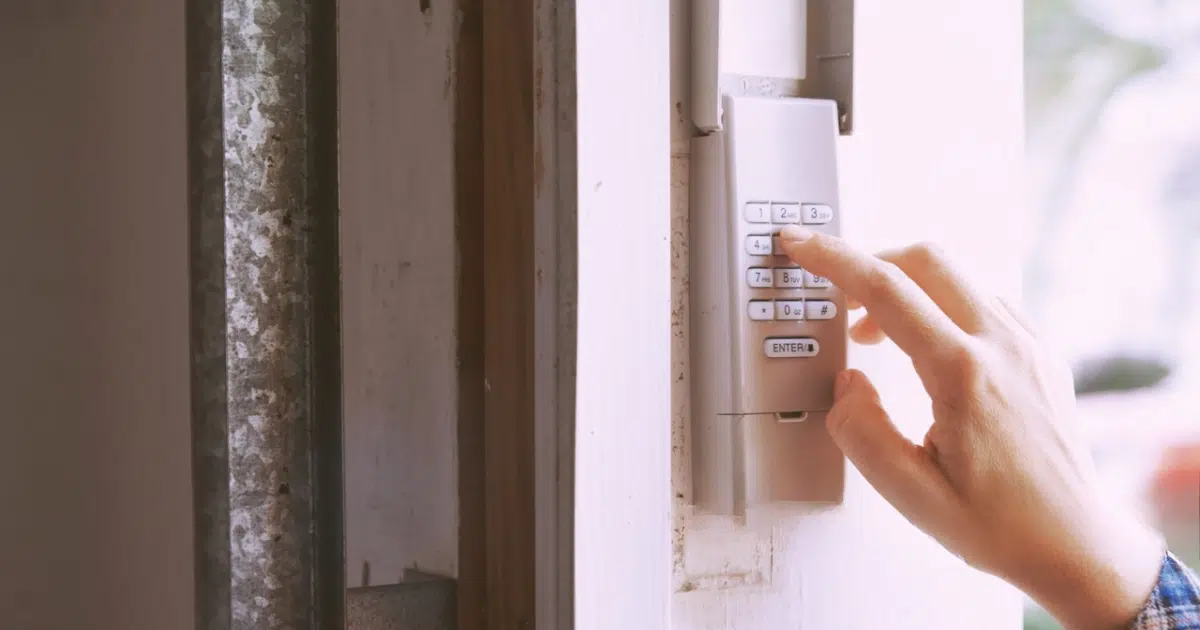
There are a handful of situations where resetting your code is the right move rather than troubleshooting for a deeper issue. Recognizing these situations early helps you avoid unnecessary steps and lets you address the actual reason your code needs changing, rather than assuming a garage door repair is the only option.
Common Reasons to Reset a Garage Door Keypad Code
- You’ve moved into a home with an existing keypad system
- A previous code was shared with someone who no longer needs access
- You suspect your code may have been compromised
- The current code has become too easy to guess over time
- You simply want to switch to a code that’s easier to remember
Resetting your code periodically, even without a specific reason, is a good habit for keeping your home secure over the long run. Many homeowners choose to do this once a year as part of a general home security routine, similar to changing passwords on other devices.
If you’re setting up a keypad for the very first time rather than updating an existing one, the process is slightly different, and our guide on How to Program a Garage Door Keypad the Right Way walks through that version step by step.
Locate the Program or Reset Button
Just like initial programming, resetting a code starts at the opener’s motor unit rather than the keypad itself. This is where the system stores the codes that control access to your garage, so this is the starting point, no matter which brand of opener you have, and it’s the same spot a garage door service technician would check first if you decided to call one in in this situation.
Where This Button Is Usually Found
- Near the antenna wire on the motor unit housing
- Sometimes labeled “learn,” “program,” or “smart” depending on the brand
- Occasionally, it is hidden behind a small plastic cover
- Positioned on the side or back of the unit in most cases
- Colored differently from the surrounding buttons on many models
Taking a moment to locate this button clearly before starting can prevent wasted attempts later, especially since some openers are mounted high enough that a ladder is needed just to see the button properly.
Clear the Old Code Before Adding a New One
Depending on your opener model, you may need to clear the existing code before entering a new one, or the system may simply overwrite it automatically. Skipping this step on models that require it is one of the most common reasons a reset doesn’t take effect, and getting into the habit of clearing outdated codes is a small but useful part of ongoing garage door maintenance.
How Old Codes Are Typically Cleared
- Holding the program button for an extended time until the light blinks differently
- Selecting a “clear all codes” option on models with a digital display
- Removing power from the opener briefly on certain older models
- Entering a specific factory reset sequence listed in the manual
- Some models simply allow overwriting without a separate clearing step
Checking your specific model’s manual before this step helps avoid accidentally clearing codes you didn’t mean to remove, especially if multiple family members use separate codes. It’s also worth noting which method your opener uses so you don’t have to search for it again the next time a reset is needed.
Enter and Confirm Your New Code
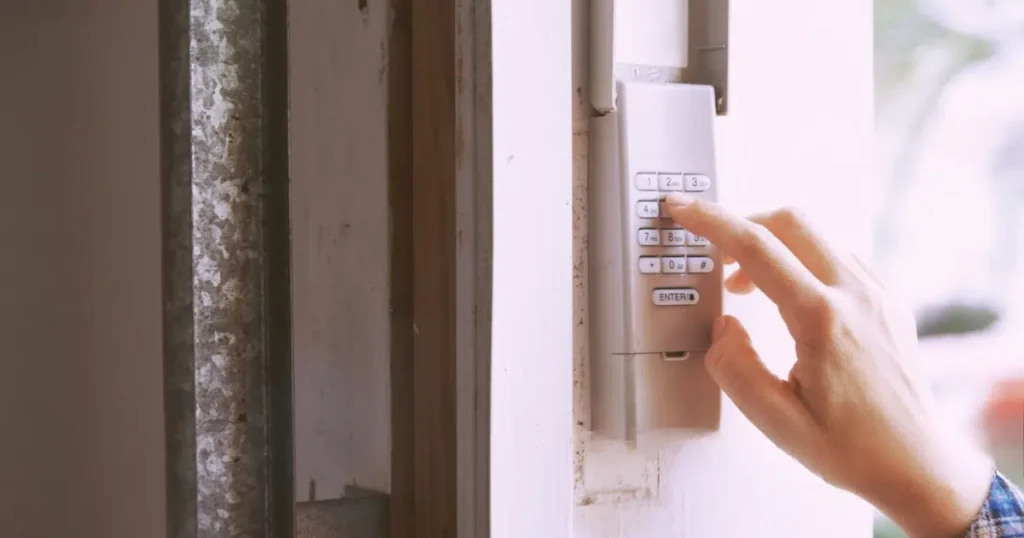
Once the opener is ready to accept a new code, entering it on the keypad works much like it did the first time it was set up. The main difference is that you’re replacing something that already existed rather than starting fresh, which means the process usually goes faster the second time around.
Tips for Entering a New Code Successfully
- Enter the new code within the program window, usually within around 30 seconds
- Watch for a light or sound confirming the code was accepted
- Avoid pressing buttons too quickly, which can cause entry errors
- Choose a new code that’s different enough from the old one
- Confirm the code was accepted before closing the garage or walking away
A common troubleshooting resource worth checking if something feels off during this step is The Spruce’s guide to common garage door problems, which covers general issues that can affect keypad and opener communication. This can be a helpful starting point if your reset attempt seems to be running into a problem unrelated to the code itself.
Test the New Code Right Away
Testing immediately after a reset is just as important as it is after initial programming. It confirms the new code works and that the old one has actually been replaced rather than still active in the background, which matters most if security was the reason for resetting in the first place.
How to Test a Reset Code Properly
- Step away from the keypad and enter the new code from a normal distance
- Confirm the door opens and closes without hesitation
- Try the old code once to make sure it no longer works, if security was the reason for the reset
- Test the code a second time to rule out a fluke
- Check that other household codes or remotes weren’t affected
If the door doesn’t respond as expected during testing, it’s worth stepping back and confirming whether the issue is with the reset process itself or something unrelated. Our guide on Garage Door Keypad Not Working: Common Causes covers the most common reasons a keypad stops responding, which can help rule out other issues before assuming the reset failed.
Mistakes That Cause a Reset to Fail
Most failed resets come down to a few repeated issues rather than a broken keypad. Being aware of these ahead of time can save a lot of frustration and extra attempts.
Common Reset Mistakes to Watch For
- Not clearing the old code on models that require it
- Missing the program window while deciding on a new code
- Assuming the reset worked without actually testing it
- Forgetting that some openers store multiple codes separately
- Overlooking weak batteries, which can affect the entire process
For more background on how these systems are designed to handle access codes safely, the IDA’s care and maintenance guidance offers a helpful overview of general upkeep that supports reliable keypad performance over time. Keeping up with this kind of general maintenance can also make future resets go more smoothly.
When to Call a Professional Instead
Occasionally, a reset simply won’t take, even after multiple attempts and careful attention to timing. This usually points to something beyond user error, and continuing to repeat the same steps at that point rarely changes the outcome.
Signs the Issue Goes Beyond a Simple Reset
- The opener won’t enter program mode no matter what you try
- Old codes continue working even after attempting to clear them
- The keypad accepts a new code, but the door still doesn’t respond
- The opener is old enough that it may not fully support reset functions
- You’ve repeated the process several times without success
At this point, understanding what a repair situation might involve can help set expectations before reaching out. Our guide on What Affects Your Garage Door Keypad Repair Cost breaks down the general factors that come into play if a reset issue turns out to be a hardware problem.
Keeping Your Access Code Up to Date
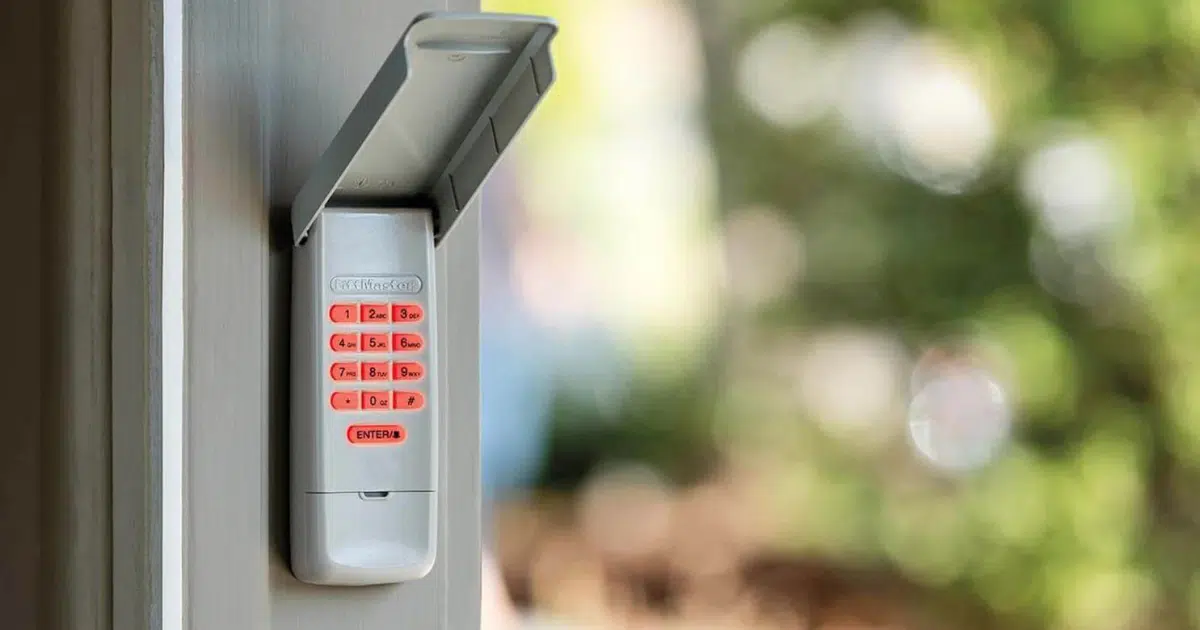
Resetting a garage door keypad code is a small task that plays a big role in keeping your home secure, especially after a move, a shared code situation, or simply enough time passing that it’s worth refreshing. Following the steps in order and testing right away will solve the process for most homeowners without further issues, and building this into a regular habit makes future resets even quicker.
If you’re in Mesa, AZ, and you’ve run into trouble resetting your keypad code, JT’s Overhead Doors can take a look and help figure out what’s going on, whether it’s a stubborn opener, aging hardware, or something else entirely. Contact us today or give us a call, and we’ll get your access working the way it should.